
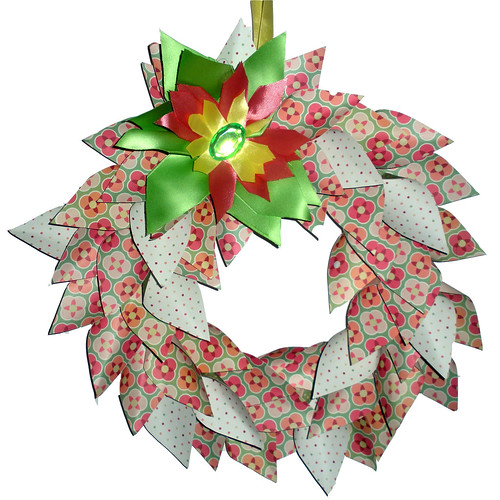
A paper wreath!
I stumbled over this tutorial the other day and decided I needed to have one! I used paper (cardstock actually) from the Winnie's Wall line by s.e.i., but I think it's been discontinued. The next one of these I make I am going to try to use a lighter weight paper. This ended up being okay, but it was a bit fiddly to work with. I also didn't attach each "leaf" individually. I found it worked better to staple groups of three and then fill in with single leaves where they were needed.
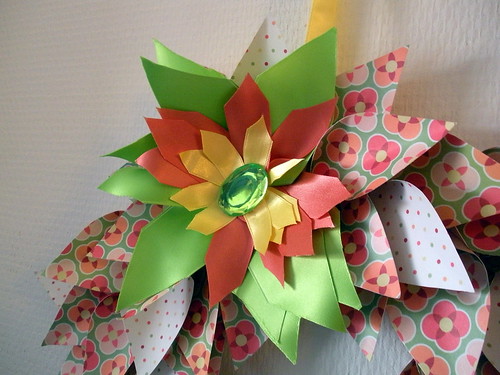
I was having a bit of a strange time hiding the stapled bits when I was trying to meet in the middle at the top, so I decided I'd hide it with this ribbon "flower." Martijn said he thought the jewel was a little bit cheeky but it worked! I think I agree.
I dug around and found a few more fun examples and tutorials for other styles of paper wreaths.


This Surprisingly Simple Paper Wreath from craftystylish.com is kinda neat. I think it would be fun to experiment with different color schemes. I might not put the berry dots on at the end, but that's just me!
The wreath on the right is the Photo Wreath from Inspire Me Crafts. I've seen some of these done with book pages and illustrations that are neat too.


This Reused Wrapping Paper Wreath is a great idea. Why throw the paper away when you can refashion it into something fun!
I think the Loopy Paper Wreath would look awesome in reds and pinks for Valentine's Day.


Next we've got the Retro Inspired Paper Straw Wreath. I like this one too, it reminds me of those old starburst clocks.
Last but not least, the Folded Paper Star Wreath. The instructions for this one are on Slide 3 of the article.
I think it's time to wrap this baby up, I have typed the word wreath so much it's starting to sound funny and not like a real word!


7 comments:
Wow yours is so pretty! I never would have guessed what you were creating! Its really lovely and reminds me of spring!
love the wreath! its so cute... I like the straw one it reminds me of my silly high school straw wrapper game... I'm bad I still do it when I get a paper straw wrapper... hehehe I'm silly but its funny when I'm pregnate it works everything... How strange...
Now that, that is quite spiffy!
Whoo Hoo you rocked that paper wreath! Dont you just love paper crafts? there is sooooo many things you can do with it!
very very cool you are soo crafty.
Very pretty. I love the colors.
Oh, I love this! Wait until you see mine! It is nothing like any of these! And I agree...the jewel is "cheeky" and I love it! So clever! I am almost intriqued with how different minds interpret different projects! Thanks for sending me this link.
I checked out the other site, too.
Amazing.
Post a Comment